


Authentication and Single Sign On
Benefits
You can authenticate customers through the Widget SDK which will make your Re:amaze widgets a better experience for your customers.
For all contact forms (shoutbox, lightbox, embeddable), this will mean that your customers no longer have to provide Name and Email information, since this will be provided through the Single Sign-On method.
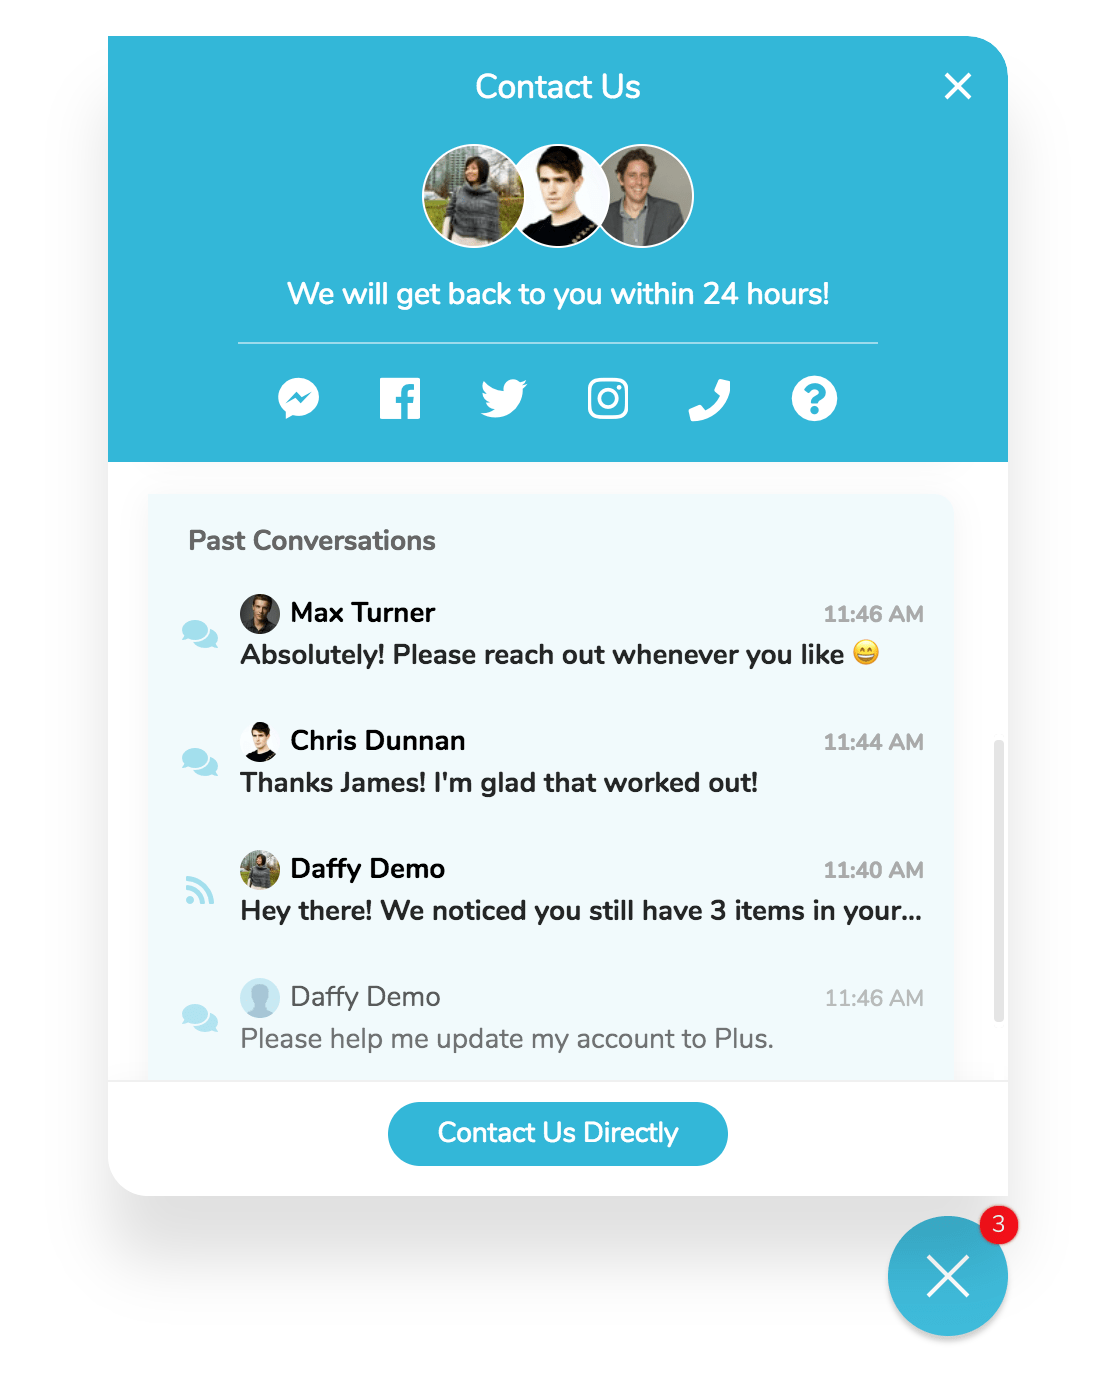
Both the shoutbox and lightbox can also display past customer conversation history as well as unread messages.
Installation
Make sure you have the Reamaze.js snippet installed from the Installation Step.
<script type="text/javascript">
  _support['user'] = {
    id: '{{ CUSTOMER USER ID }}',
    email: '{{ CUSTOMER EMAIL }}',
    name: '{{ CUSTOMER NAME }}',
    phone: '{{ CUSTOMER PHONE }}',
    authkey: '{{ AUTHENTICATION KEY }}'
  }
</script>
Copy and place the above code anywhere in your HTML. Then, replace the values above with values appropriate for the customer that you are authenticating.
{{ CUSTOMER USER ID }},{{ CUSTOMER NAME }}, and{{ CUSTOMER EMAIL }}should be identifiers from your web application. Re:amaze uses these to help track unique customers in your Re:amaze account Contacts section.{{ AUTHENTICATION KEY }}should be replaced by the SHA256 HMAC hexdigest with thekeyset to yourSSO Secret(available under Account IDs and Secret from within your Account Settings) and themessagevalue set to theidandemailvalues joined by a colon (:).- The
phoneparameter is optional, and the value must be a E.164 formatted phone number, for example +14155552671
Generating Authkey
Authkey generation requires the use of your Account's SSO Secret. For security reasons, this value should never be shared. It is advised that you generate your authkey on the server side before rendering it in JavaScript. We've provided some examples in various languages below.
If you're using our Shopify integration, Shopify specific documention for generating the auth key is available here: Integrating Reamaze for your Shopify Store
If you're using either our Ruby on Rails or Django libraries, Authentication helpers are provided within.
Authkey Examples
PHP:
hash_hmac('sha256', $user->id . ':' . $user->email, '{{ YOUR SSO SECRET }}')
Ruby:
OpenSSL::HMAC.hexdigest('sha256', '{{ YOUR SSO SECRET }}', "#{user.id}:#{user.email}")
Python:
hmac.new("{{ YOUR SSO SECRET }}", user.id + ":" + user.email, hashlib.sha256).hexdigest()
NodeJS:
CryptoJS.HmacSHA256(user.id + ":" + user.email, "{{ YOUR SSO SECRET }}");
Customer Avatar
You can also provide an avatar (image) for your customer during SSO, which will be displayed with the customer's messages within Re:amaze. This is perfect for synchronizing the user's visual identity between Re:amaze and your application.
<script type="text/javascript">
  _support['user']['avatar'] = '{{ AVATAR URL }}'
</script>
Copy and place the above code anywhere in your HTML. Then, replace the {{ AVATAR URL }} with a publicly accessible URL for the image location.
Weak SSO
If you'd like to simply provide convenience for the customer and pre-fill the customer's name and email, you may simply provide name and email in the SSO hash. For example:
<script type="text/javascript">
  _support['user'] = {
    email: '{{ CUSTOMER EMAIL }}',
    name: '{{ CUSTOMER NAME }}',
  }
</script>
This will prefill the name and email on the shoutbox and lightbox contact forms but it will not give the customer access to conversation history.
This is also useful if for some reason you have difficulty generating the authkey. For example, this is the case if you're in a feature-limited template system without access to HMAC.
Next Step
Beyond authentication, Re:amaze allows you to pass customer data attributes for each customer which are shown along with customer conversations.
Join thousands of teams using Reamaze to impress customers.
Find out how with a free account.
 Sign up with Google
 Sign up with Microsoft