


Shoutbox Integration
Contact Mode
To get started with Reamaze Embedding, the basic integration will provide you with a help shoutbox that allows your customers to contact you, creating new conversations in your Reamaze support channel.
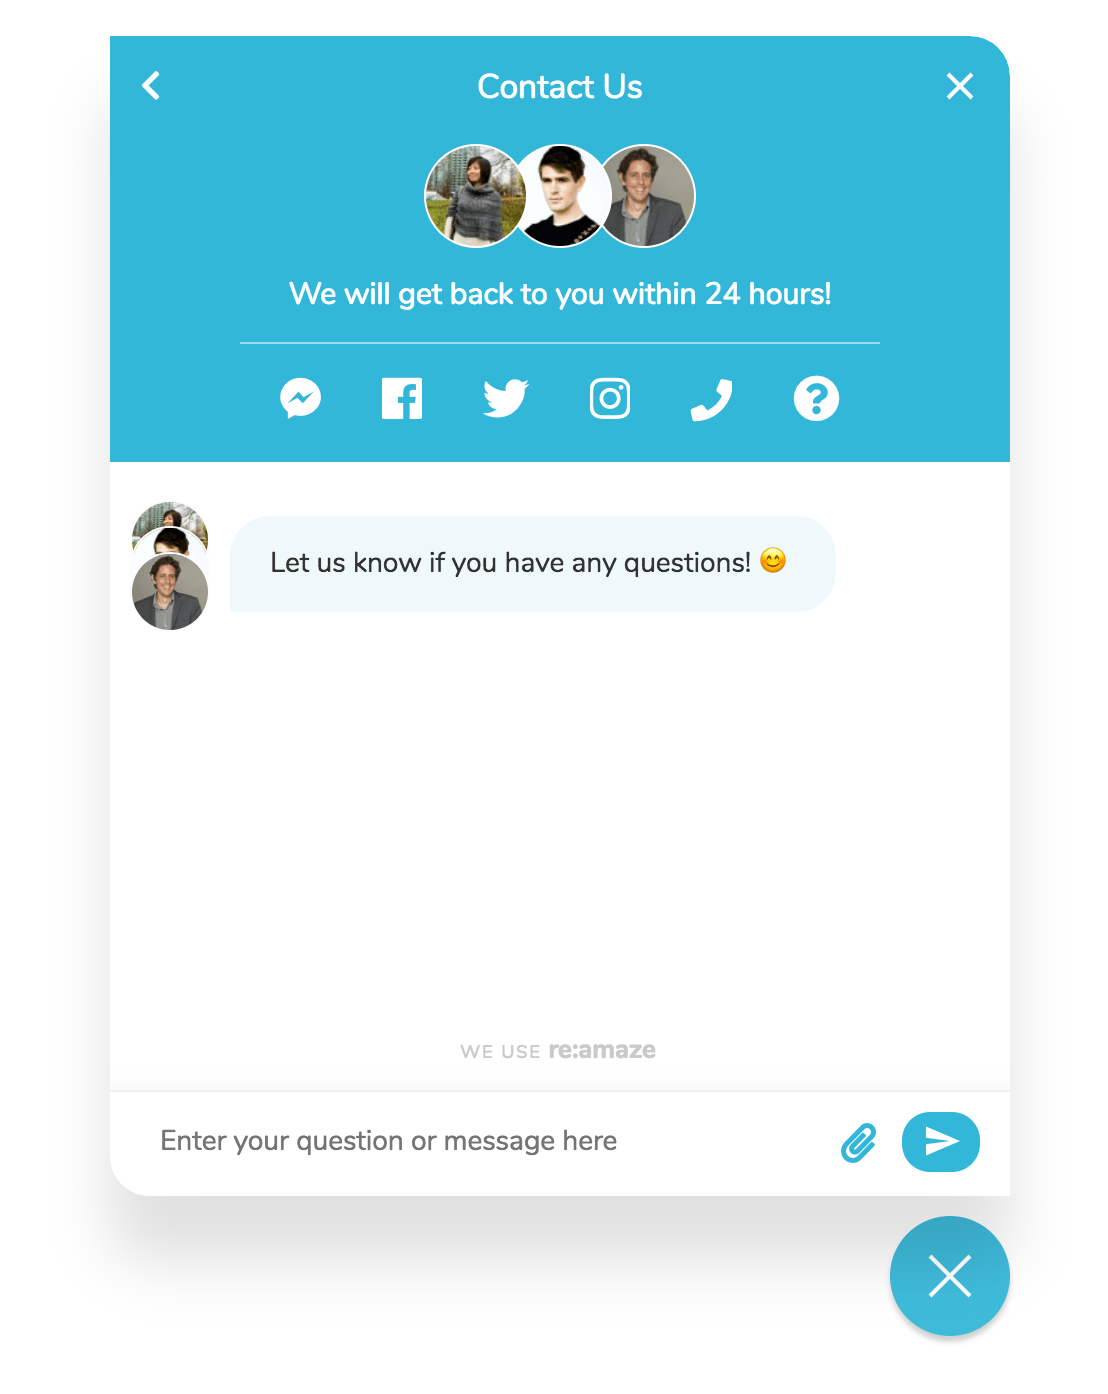
The Reamaze shoutbox allows for 2-way communication between your team and your Customers. Replies will be immediately sent back to Customer within the shoutbox.
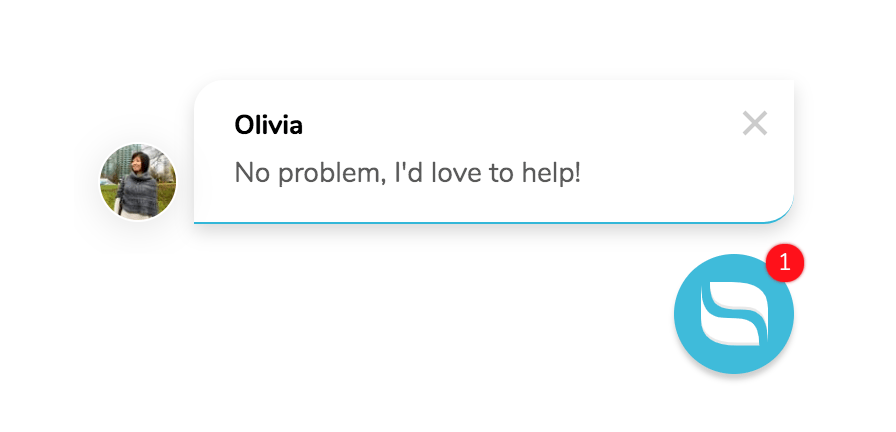
Additionally, if the Customer is still on the site but has the shoutbox closed, Reamaze will show a response notification to your Customer.
Installation
Make sure you have the Reamaze.js snippet installed from the Installation Step.
<script type="text/javascript">
  _support['ui']['widget'] = true;
</script>
Copy and place the above code anywhere in your HTML.
Anonymous Guest Mode
By default, the shoutbox will require contact information after the customer submits the first message. The first message will not fully submit until this information is provided.
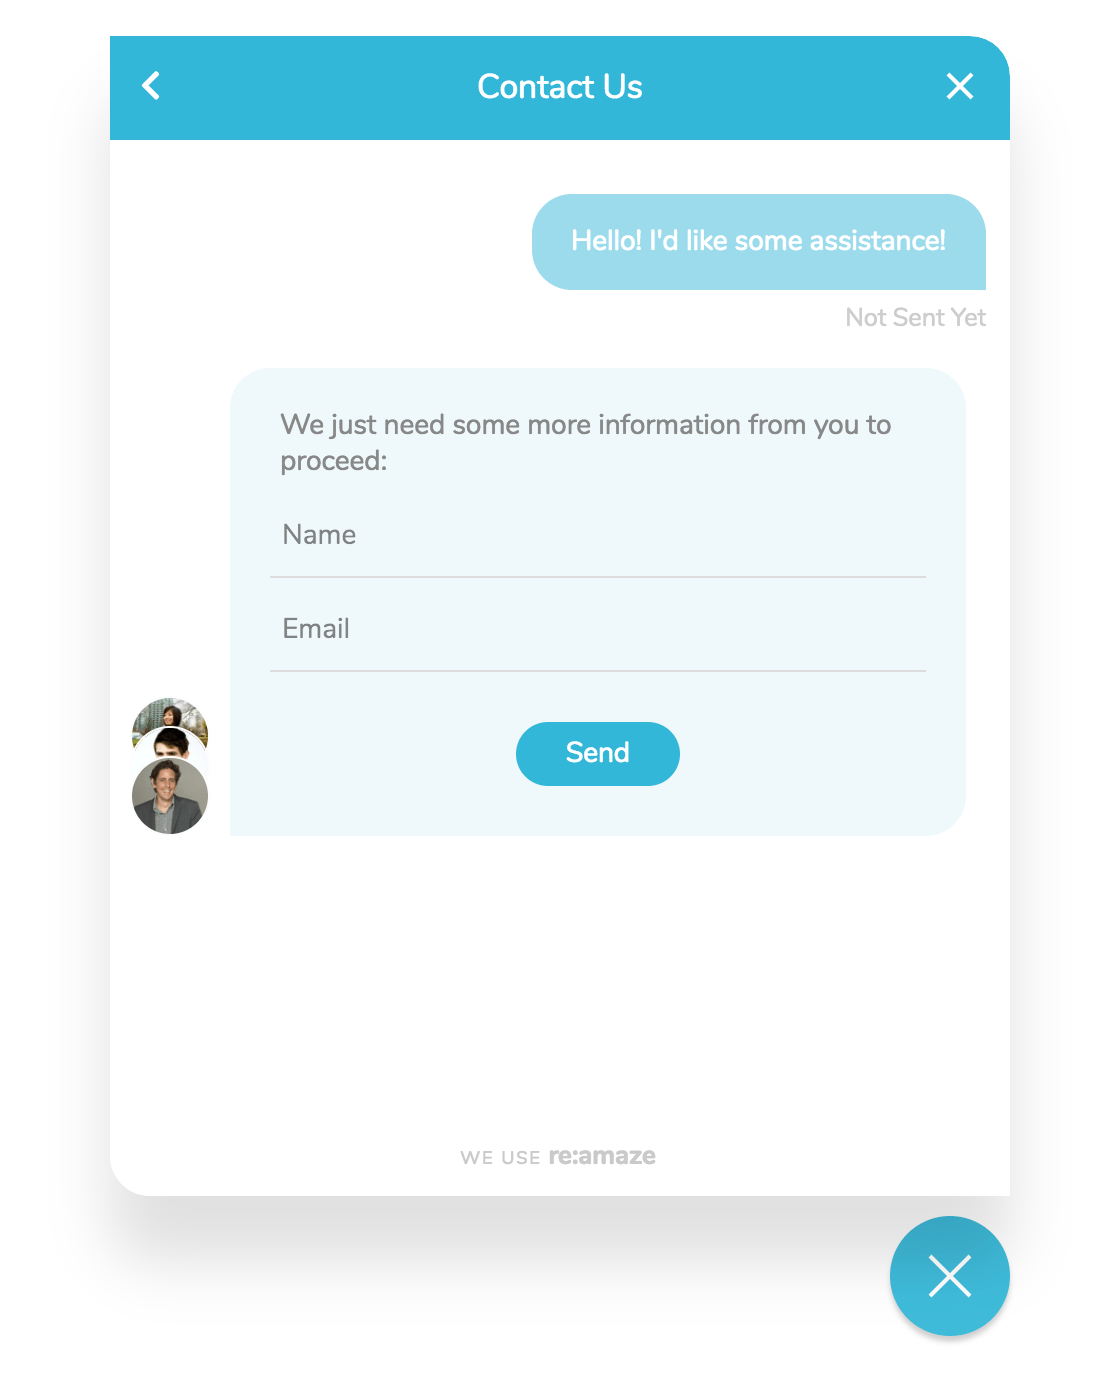
You can opt to remove the up-front Name and Email fields on the Reamaze Shoutbox and Lightbox to allow Guests to leave a message with no further fields. Learn more at Anonymous Guests →.
Self Service Mode
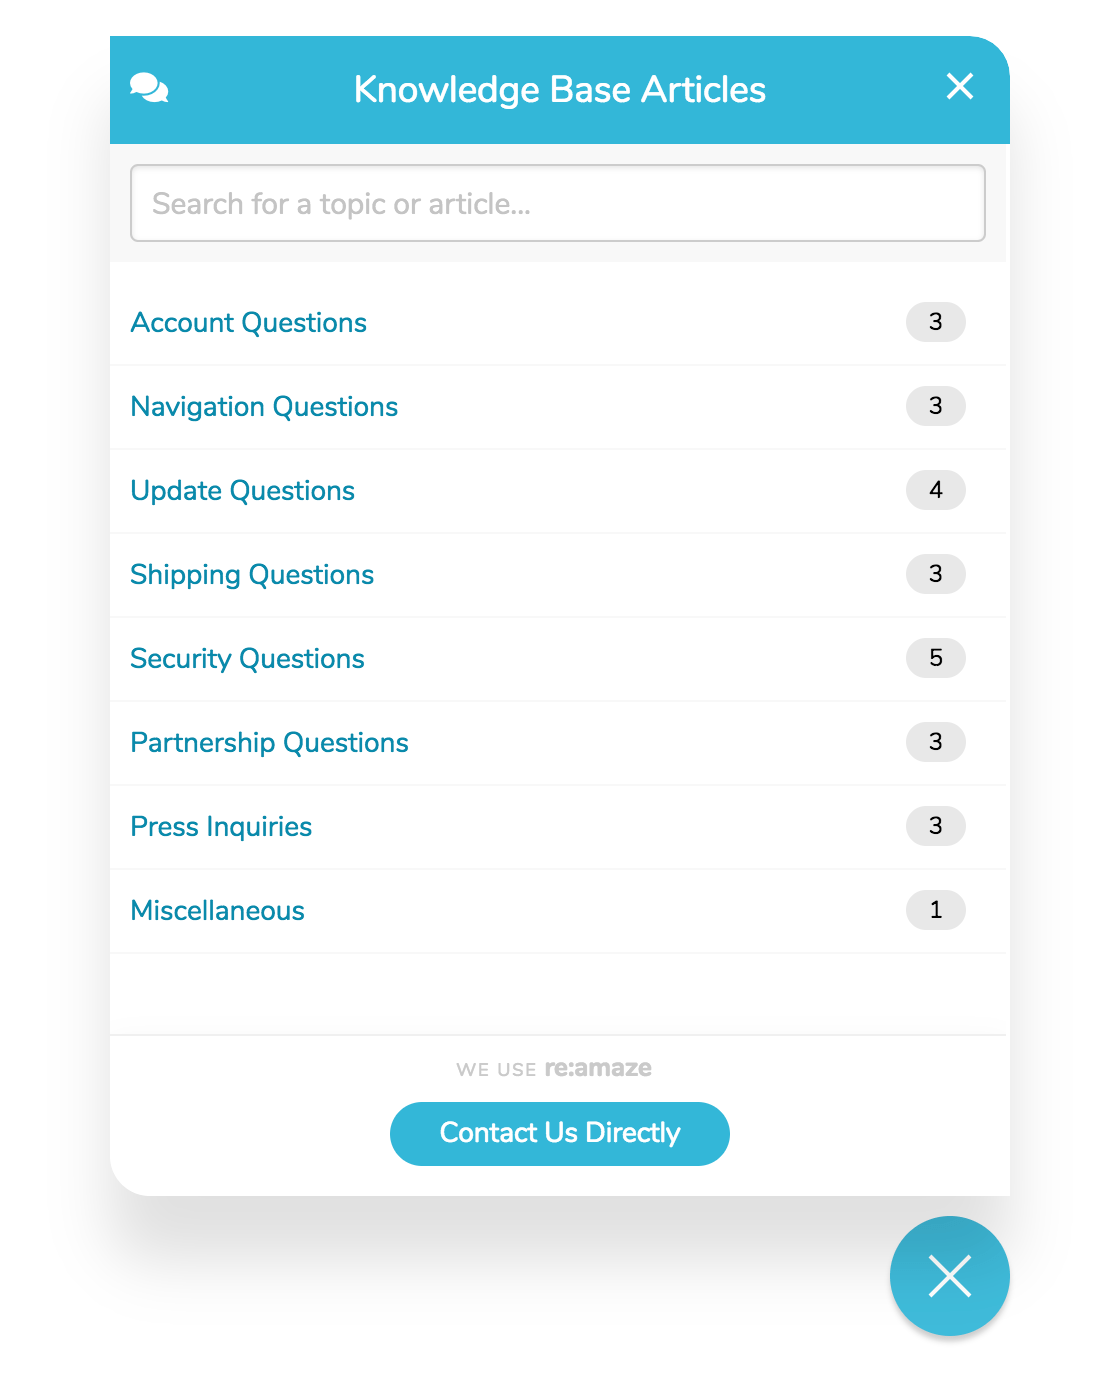
By default, the shoutbox will load with a Chat experience. If you'd like the shoutbox to display your FAQ Articles and Search first, you can simply toggle the mode. The customer can browse through your articles before contacting your team.
Installation
<script type="text/javascript">
  _support['ui']['widget'] = true;
  _support['ui']['lightbox_mode'] = "kb";
</script>
Copy and place the above code anywhere in your HTML.
Customizing Shoutbox Colors and Text/Language
You can personalize your Brand's Reamaze.js shoutbox without touching any code! You'll just need to go to Brand Settings to adjust your preferences. The shoutbox will then load with your selected color and text settings.
Custom Contact Form Fields
Your shoutbox contact form can also display custom fields like text boxes and dropdowns. When your customers enter values in these custom fields, they'll be displayed along with the submitted conversation within Re:amaze. Documentation for this is covered in Custom Form Fields
Forcing Messages to a Specific Channel
Your Reamaze Account can manage multiple channels. For example, you might have a channel for "Support" and another for "Sales". By default, the customer will be given the option to select amongst Visible channels for their message. You can also force a specific channel using the following.
<script type="text/javascript">
  _support['ui']['mailbox'] = "{{ CHANNEL }}";
</script>
Copy and place the above code anywhere in your HTML.
Replace {{ CHANNEL }} with the desired Channel ID from your Account. You can find your Channel ID values under Account IDs and Secret from within your Account Settings.
Disabling Audio
You can disable all audio notifications generated by Re:amaze Embeddables.
<script type="text/javascript">
  _support['ui']['disableAudio'] = true;
</script>
Copy and place the above code anywhere in your HTML.
Next Step
If you'd like to customize the shoutbox trigger, you can do so with a snippet of JavaScript.
Join thousands of teams using Reamaze to impress customers.
Find out how with a free account.
 Sign up with Google
 Sign up with Microsoft